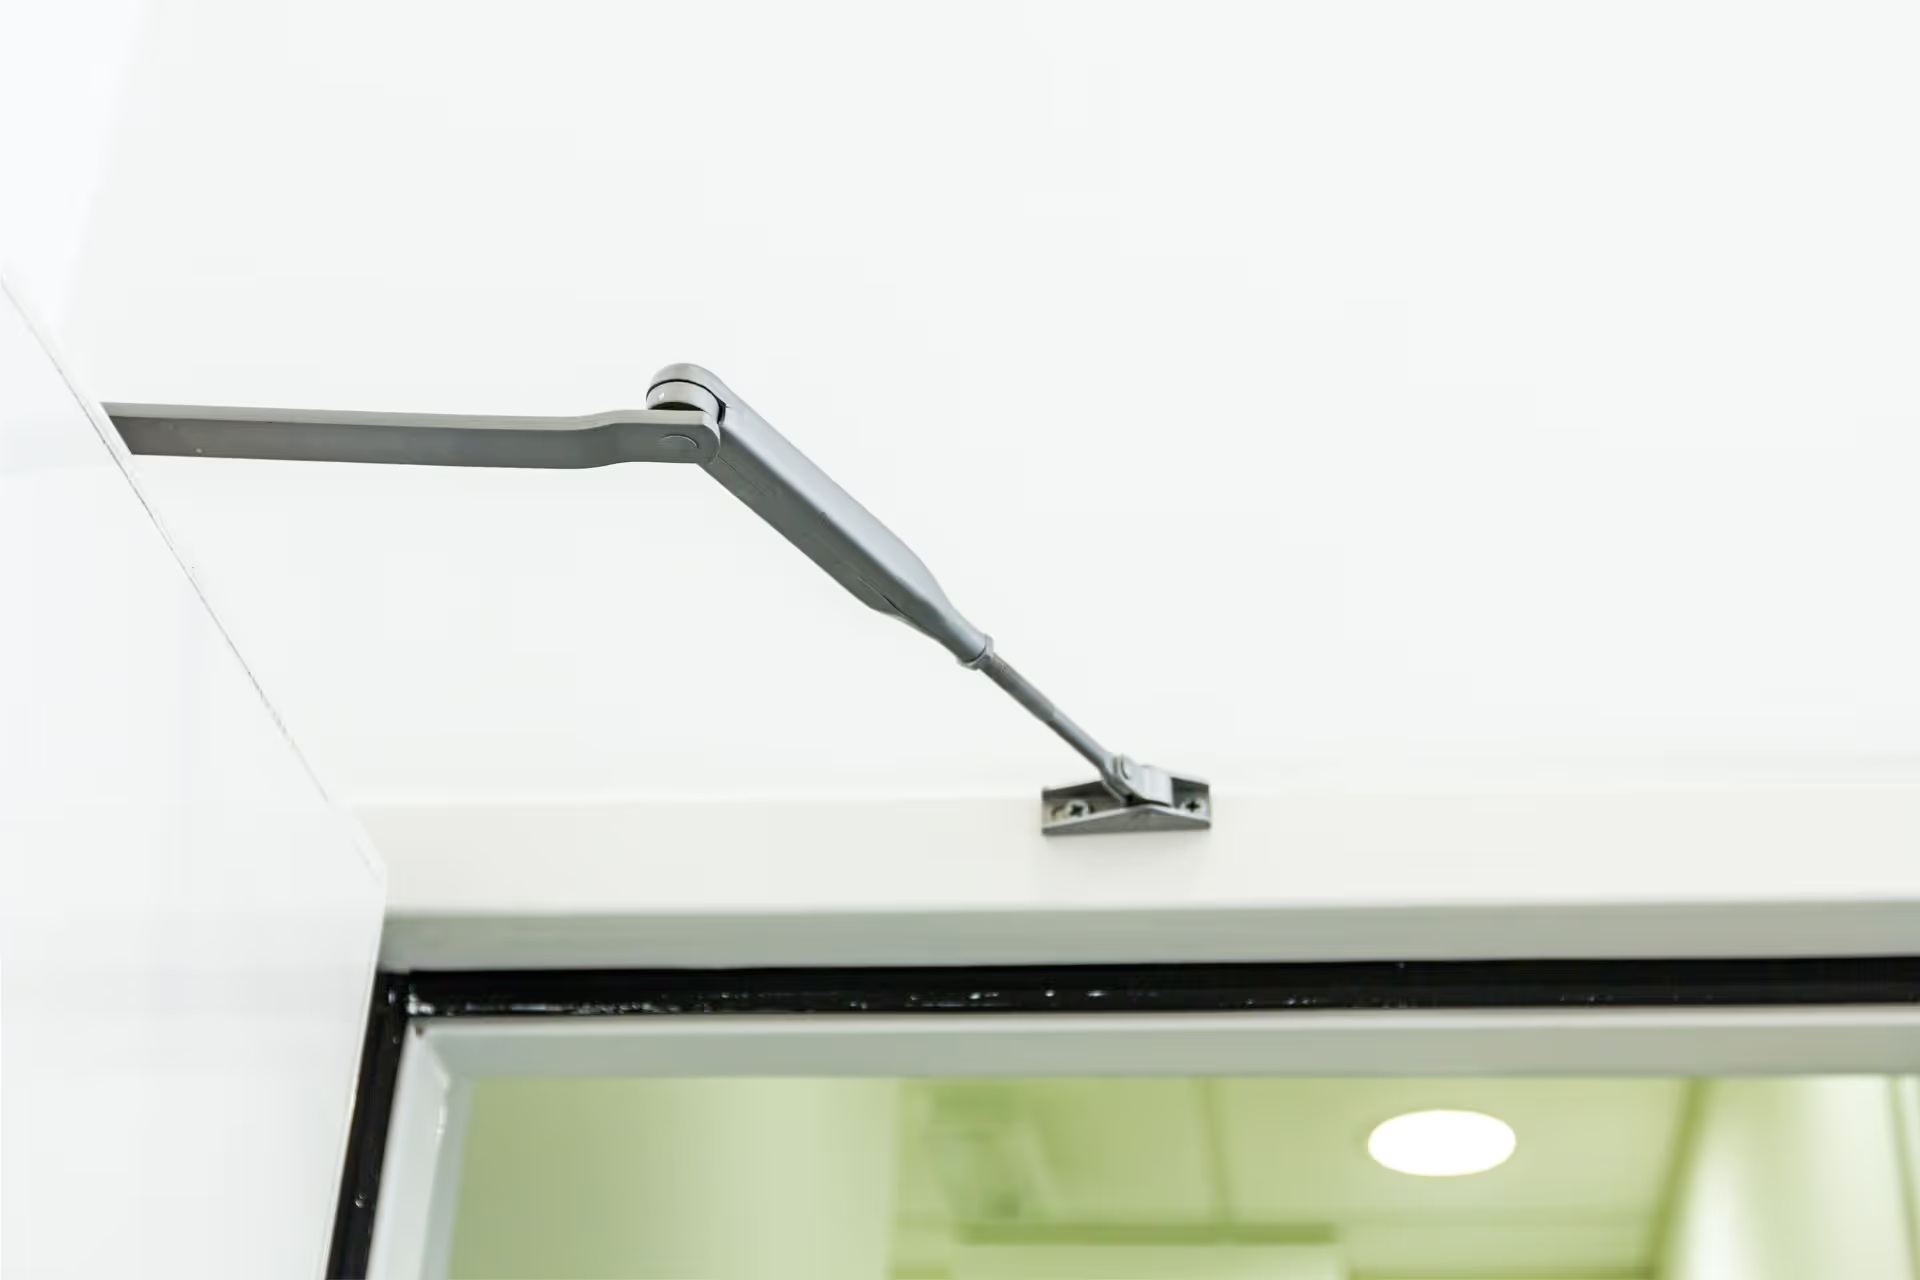
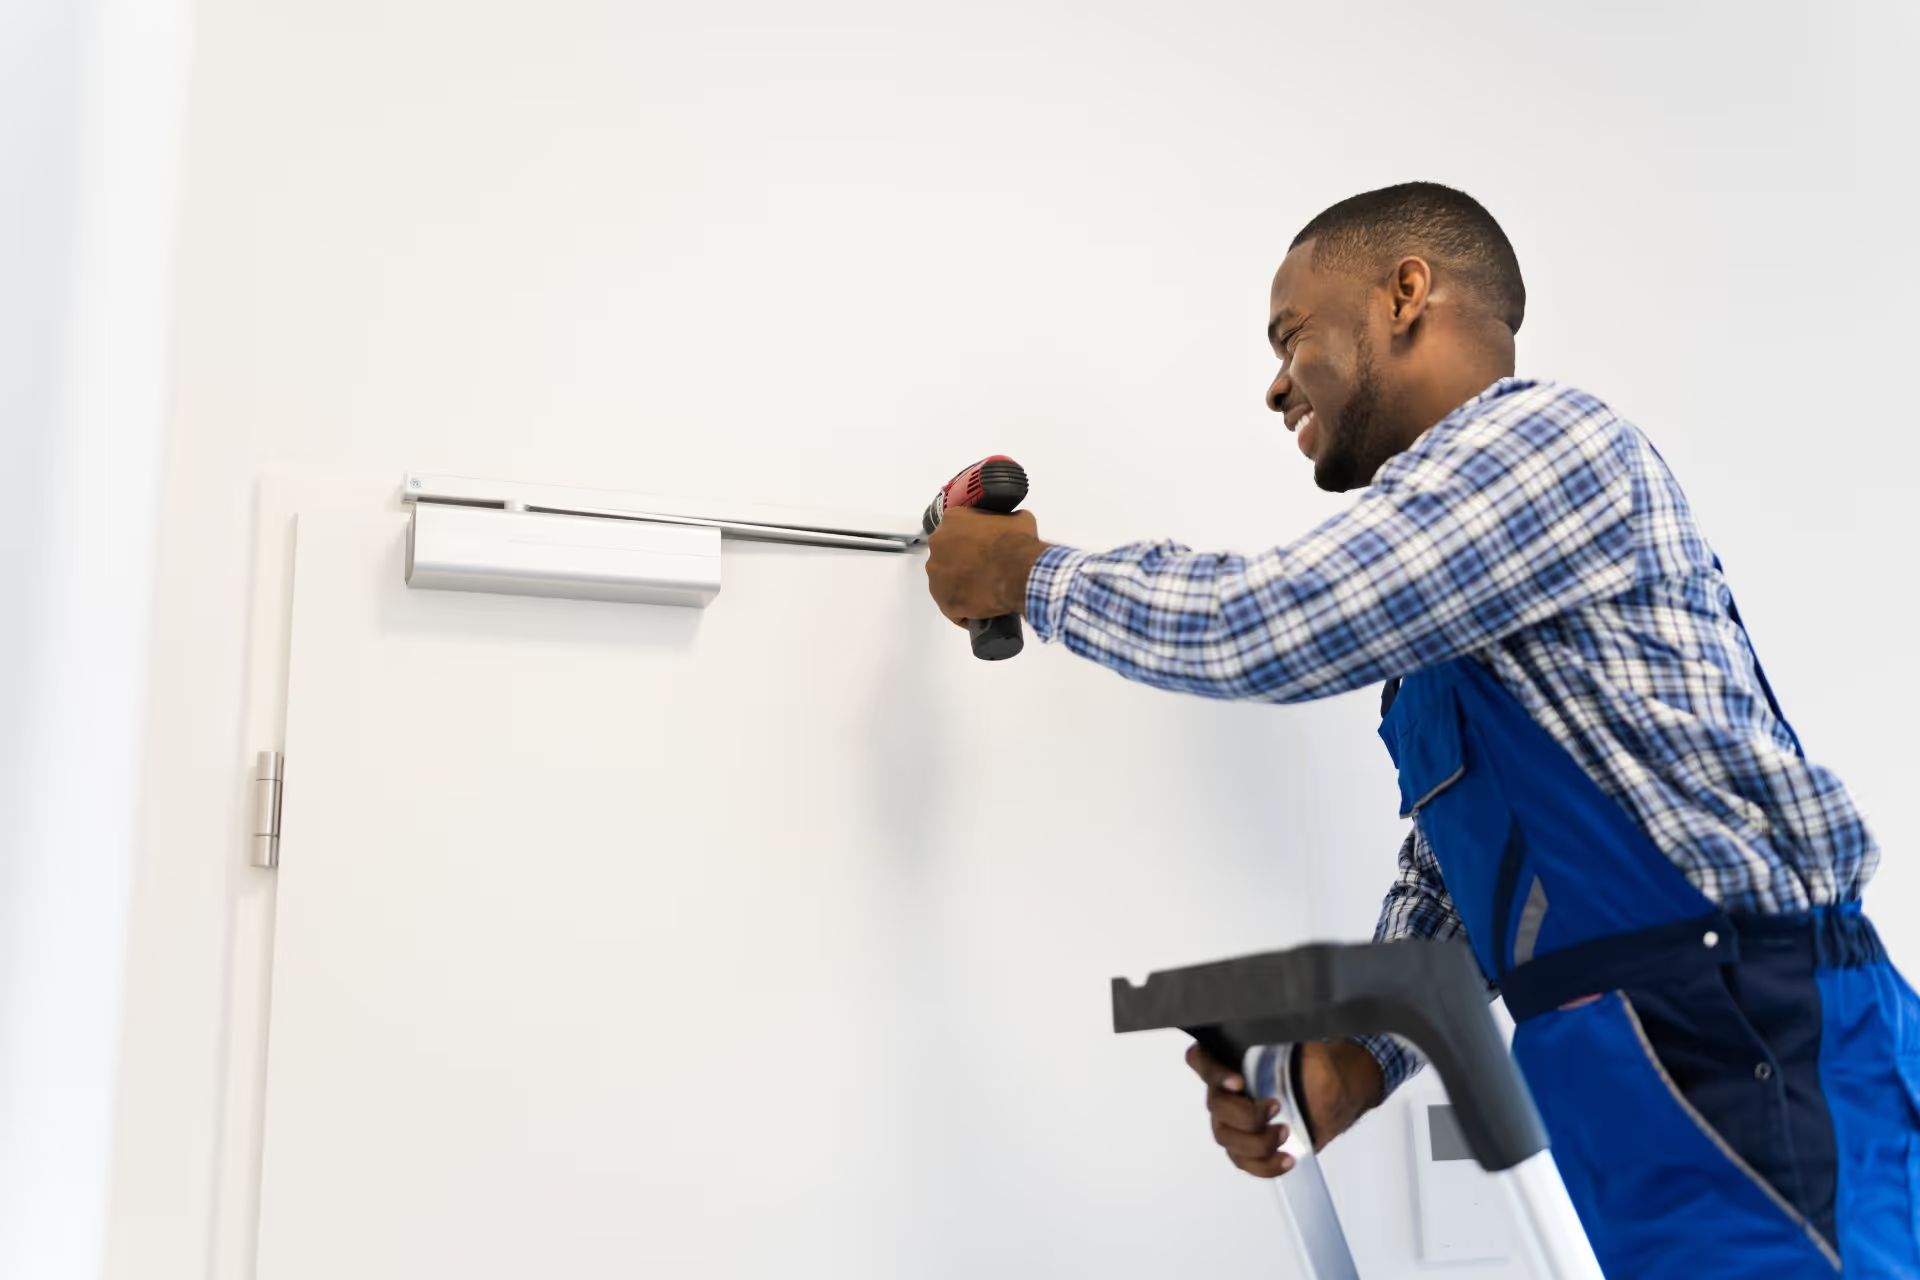
Sometimes, a great door is only as good as its door closer!
If you’ve ever experienced the frustration of a door that slams shut with a forceful bang or one that stubbornly refuses to close properly, you’re not alone. The humble door closer, often overlooked but essential for smooth and controlled door operation, is crucial in maintaining convenience, safety, and security in both residential and commercial settings.
Building regulations often require that door closers be installed on fire doors to protect people going into the emergency stairs in case of a fire. In case of strong winds or physical force, door closers also ensure that doors don’t slam too hard, which can be startling or injure someone who may be standing in the doorway.
For a door closer to work safely and effectively, it must operate at the right latching speed and force. In this article, we’ll discuss what you need to know about adjusting a door closer to keep yours working as intended!
Door Closer Adjustment 101
Door closer adjustments matter because they dictate how far a door opens, its swing speed, and the amount of force you need to pull the door to its latch.

In high-traffic areas, such as commercial buildings or public spaces, adjusting the door closer speed can help regulate the flow of foot traffic and prevent doors from slamming shut, reducing the risk of accidents and injuries.
Conversely, in environments where accessibility is a priority, such as hospitals or assisted living facilities, adjusting the door closer speed allows for easier passage and ensures compliance with accessibility standards, promoting inclusivity and safety for all individuals.
These differences are attributable to the closing speed, backcheck, and power. Here’s what you need to know before adjusting a door closer.
Tools You Need
- An Allen wrench for the bolts
- A screwdriver to remove the cover of the door closer if necessary
Directions to Remember
- Clockwise: This is the direction you need to turn to reduce the speed of the valves and increase the power from the power adjuster
- Counterclockwise: The direction for increasing the speed of the valves
Also, remember that a little goes a long way! When adjusting a door closer, one half-turn or quarter-turn of the Allen wrench can give noticeable results.
5 Steps to Adjust a Door Closer
Before adjusting a door closer, you may need to remove its cover to access the bolts of each valve. This is the encasement that helps protect the door closer’s body from impact, moisture, dust, and debris. You can remove this with a screwdriver.
Step 1: Identify the Controls
Start by locating the bolts that correspond to each point of adjustment. Typically, they are indicated as such:
- Backcheck valve bolt: noted by the letter “B” or “back speed”
- Closing speed bolt: noted by the letter “S” or “general speed”
- Latching speed bolt: noted by the letter “L” or “latch speed”
- Power adjustment bolt: noted by “closing power” and located at the end of the spring tube.
Note: If there are no indications, you can look for a sticker diagram on the door closer body (as made by certain manufacturers) or refer to the manual of your door closer.
Close the backcheck, closing speed, and latching speed valves by rotating their bolts clockwise. If you try to open the door, you’ll notice that it won’t open the entire way because the back check valve is fully closed.
Step 2: Adjust the Closing Speed
Use a screwdriver to turn the speed adjustment screw clockwise to increase the closing speed or counterclockwise to decrease it. Test the door after each adjustment until you achieve the desired closing speed.
Note: The average time that the door swings to 10 degrees from the frame should be five seconds, but you can tweak this based on your needs. Stick to five seconds when adjusting door closer for fire doors.
Step 3: Adjust the Backcheck (Optional)
If your door closer has a backcheck feature, use the backcheck adjustment screw to regulate the resistance when the door is opened forcefully. This helps prevent damage to the door and closer by limiting how far the door can swing open.
Gradually adjust the backcheck valve by rotating the bolt a turn at a time in a counterclockwise direction. Do this gradually until you have the desired “cushion” of counterforce behind the door. At this stage, the door won’t close because the closing speed valve is fully closed.

Step 4: Adjust the Latch Speed (Optional)
If your door closer has a latch adjustment, use the corresponding screw to adjust the speed at which the door closes during the final few inches. You can do this by gradually rotating the bolt a half-turn in a counterclockwise direction until the door closes at the desired speed.
Note: Typically, this should be around one to two seconds.
Step 5: Test the Door
The last step when adjusting a door closer is to put it to the test!
Close the door once again and forcibly open it. Observe if the backcheck provides the needed cushion. Time the closing speed and latch speed as the door closes, then make any needed adjustments with gradual quarter turns either clockwise or counterclockwise.
If the door is not latching properly with your current latching speed settings, use the power adjustment (if available on your door closer) to help add more force to the door closer without affecting the speed. Turn the power adjustment clockwise to increase the force.
Once you’re satisfied with the adjustments, tighten the adjustment screws to secure them in place and prevent them from shifting over time.
Get High-Quality Doors & Door Closers Installed by Industry Experts
Most door closers are simple, meaning you can usually adjust a door closer with basic tools and a little bit of elbow grease. However, the doors they’re attached to are complicated and their maintenance should be left to the professionals—like Clera Windows + Doors!
We’re Ontario’s premier source for high-quality doors engineered for reliability and performance. Our extensive range of residential door solutions includes advanced door closers designed to ensure smooth operation while meeting safety and accessibility standards.
Don’t compromise on safety or convenience—upgrade today and experience peace of mind knowing that your doors are equipped to handle the demands of everyday use.


