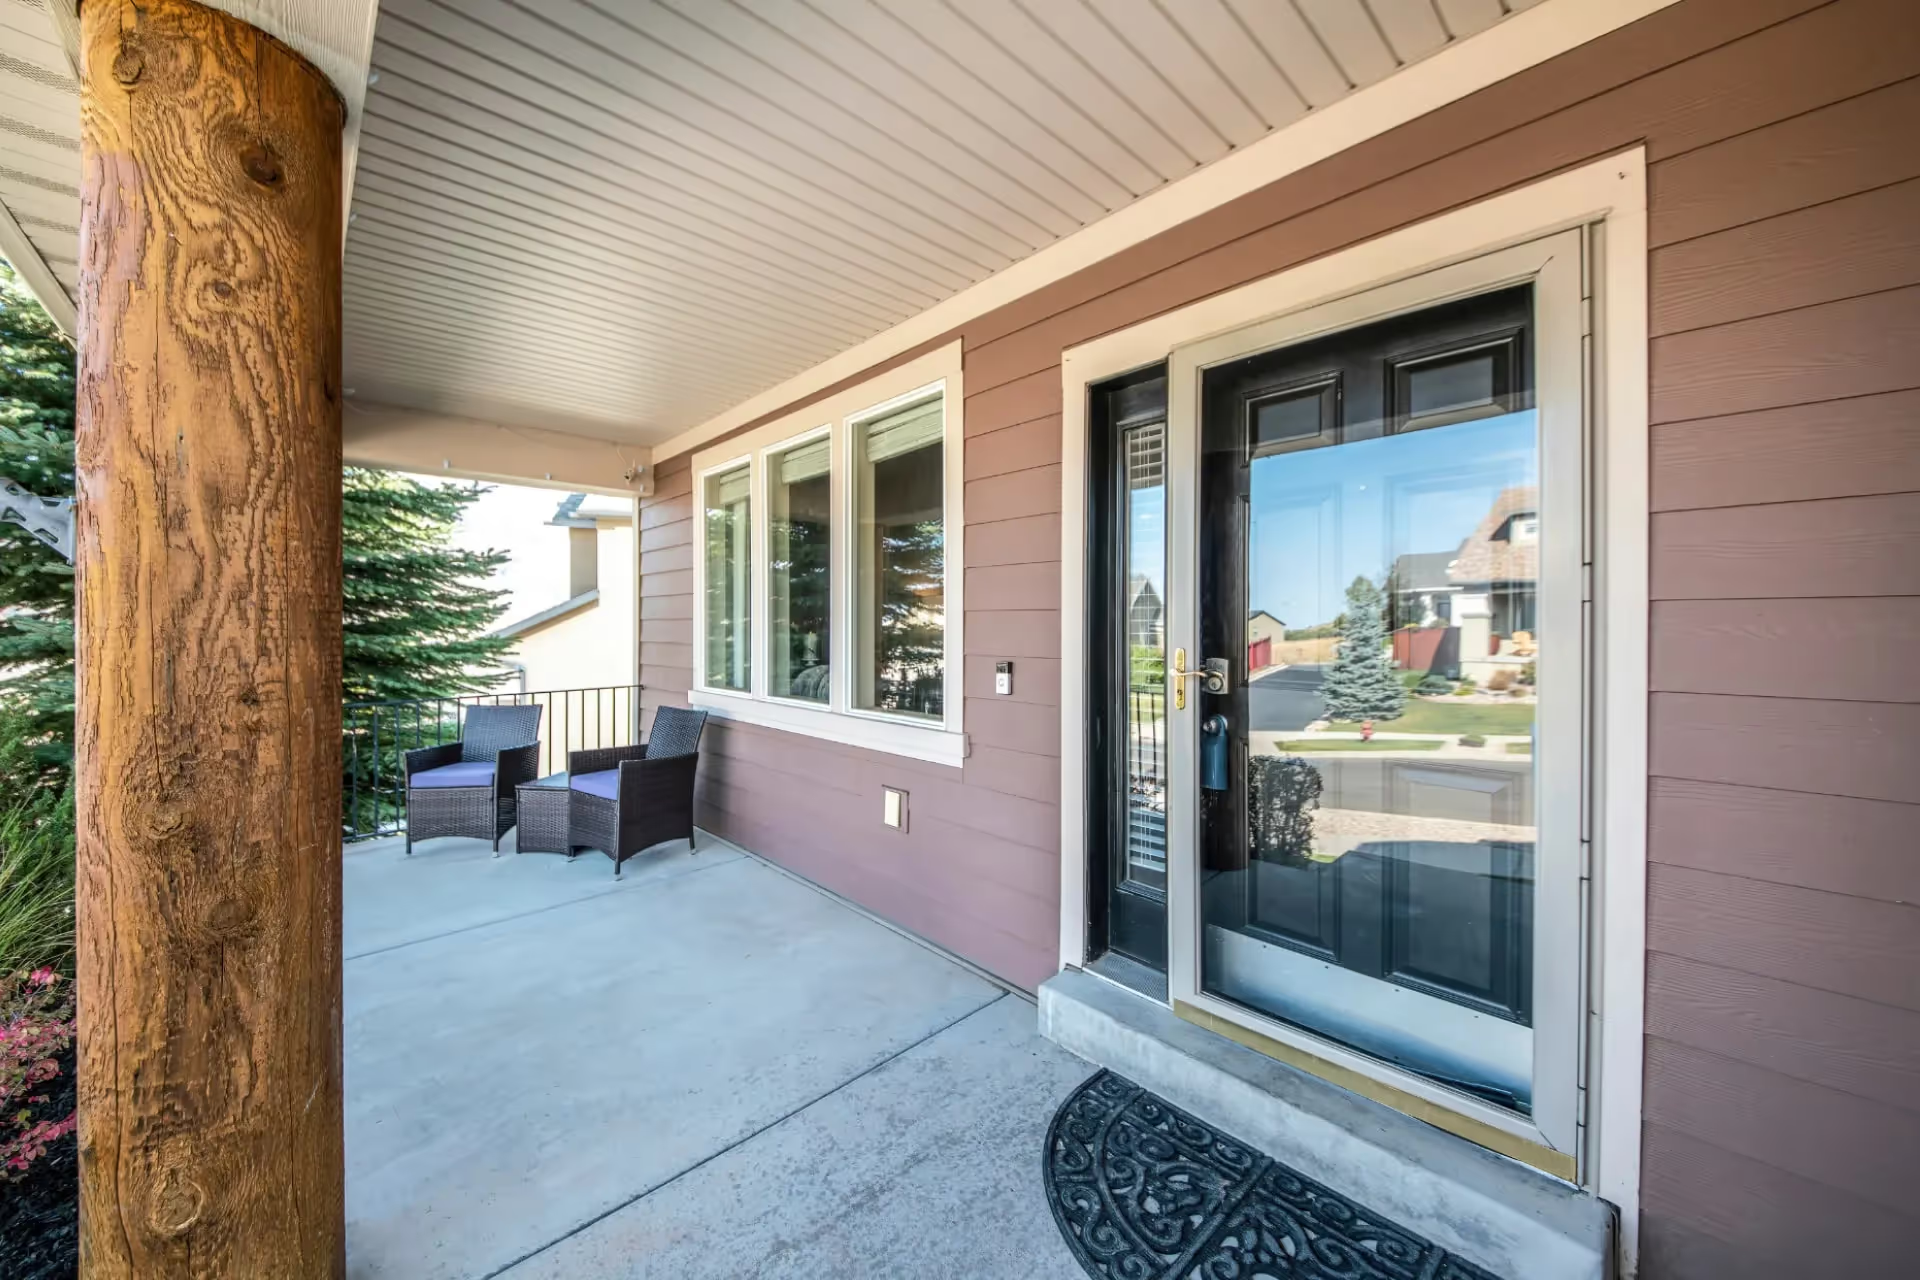
While you are still excited about the new look and feel of your home following the best windows installation, now may also be a good time to hang window boxes to further enhance curb appeal.
Like plant containers, window boxes provide a fast and easy way to beautify your windows, patio, or balcony, and give them a fresh and floral look that you can enjoy all season long. For the best results, it is recommended that you buy or make a window box of the right size that fits appropriately in the space you want to set it.
For instance, a very small window box placed on a large window might go unnoticed, whereas a very large container on a tiny balcony will appear out of place. Once your window box is ready for display, you can attach it to your house or railings using screws. However, this will require you to drill into the support structure, which may not be a good option if your home is rented, has vinyl siding, or you don’t want to create permanent marks.
Instead, you can use mounting hardware to hang your planter boxes.
Option 1: Using Vinyl Siding HangersYou will need:
- Vinyl siding hangers
- Measuring tape
- Screw driver
- D-ring hooks
Step 1:
Install two D-ring hooks on the back side of the window box using the provided screws or bolts. They should be evenly spaced. If the box has existing pilot holes, simply insert the bolts or screws through them to avoid drilling. The D-rings allow you to hang your flower box on the vinyl siding hooks.
If you purchased your planter, rather than making one yourself, it should have hanging hooks on the back, or at least small slots created to fit over slim hooks.
Step 2:
Measure the distance between the D-rings or slots on the window box to get the right spacing between the vinyl siding hooks. Once you find the right spots, push the small-hook end of the vinyl siding hangers in the space between two vinyl siding panels, making sure to maintain the distance between them. It should be fairly easy to create enough space between the panels to insert the hangers.
Step 3:
Pull the hanger gently downwards and towards you until it clicks to indicate that it is locked in. Some hooks are designed to lock themselves in place without requiring you to take this action. Once the hooks are locked in place, pull on them with about the same weight as your window box to ensure that they will provide sufficient anchorage for your plants.
Step 4:
If need be, adjust the spacing between the hooks to ensure that they are properly matched with the D-rings on your window box. Even though they are locked in place, they should still slide easily sideways.
Step 5:
Slip the D-rings over the larger hook ends and release the hanger cautiously to ensure that it holds well. If your window box has slots in the back, line it up with the hooks on the siding and slide each of the hooks through the slots.
Step 6:
Finally, slip the loop or hook end of your window box over the siding hook.
Option 2: Installing Mounting Brackets
You will need:
- A drill and countersink bit
- Measuring tape
- Foot level
- Mounting brackets – painted or stained
Step 1:
Identify the mounting location, about 1-inch from the underside of your new window installation and mark the position of the top of the bracket using your pencil.
Keep in mind that this setting is only for sliding or double-hung windows. For out-swinging windows, you should provide an allowance for the height of the plants so they don’t interfere with opening and closing the windows. The right distance should be about 6 to 8 inches below the window frame.
Step 2:
Once you identify and mark the right position for the brackets, you can proceed to install them. Hold the first bracket with the top aligned to the pencil mark. Mark the position of the top screw hole near the bottom of the same layer of vinyl.
Use a drill and countersink bit to bore and counterbore a pilot hole into the bracket on the mark. You will also need to a bore a pilot hole through the vinyl or other surface on the exterior of your home. Then use a 3-inch long galvanized decking screw to fasten the bracket to the siding.
Step 3:
Before installing the second screw on the bracket, place a foot level against one side of the bracket to ensure it is plumb. Mark the position of the second screw on the bracket so it is just above the horizontal support — where the window box will rest.
Drill holes on the bracket and wall, and fix the bracket to the siding using another 3-inch screw.
Step 4:
Use a 4-foot level to identify the right position for the second bracket under the windowsill. Mark the spots where the screws will pass through and drill holes in both the bracket and the vinyl. Then attach the bracket.
Step 5:
With the brackets fastened to your house, you can now place the empty window box with the angled side facing outwards. Measure the overhang on both sides to ensure that it is properly centred.
Step 6:
Mark the positions where the window box will be fastened to each bracket (above the top screw securing the bracket to your house), drill the pilot holes, and insert two ½-inch long galvanized decking screws.
You are now ready to fill your planter with potting soil and decorate the best window installation with seasonal plants and flowers. If you don’t mind drilling holes in your house or vinyl siding, you can use the second option to support heavy window boxes. Otherwise, hooks should be sufficiently strong to support your planters.


